Here are a few photos of from one of my students work and mine :)
I plan on doing a pit firing with these students and I'll post more photos of their work.
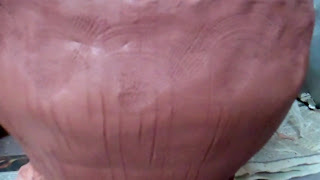
Greenware of students work
Greenware of students work
Here's the mold I made to make the pointed bottom pots. I'm going to make new ones with no flat edge.
Molds
Traditional Pit Firing
Most of the pots are bisque first just because it was easier to handle and travel with, also I worried about them cracking during the firing.
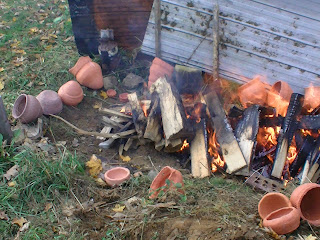
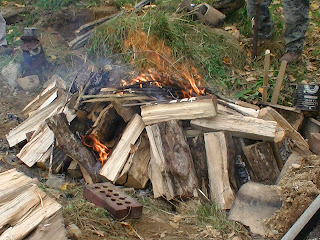
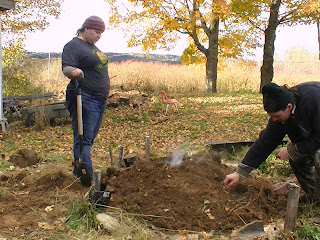
The Pit Firing went great! it was a little windy so we had to put up a wall to block out the wind. We dug out a shallow pit and placed bricks and rocks around the edge then we started the warming fire and let it burn for 1-1 1/2 hours down to the coals. During the warming firing we place the pots closer and closer to the flames.When there was only coals left, we placed the pots upside down onto the coals and built up the fire again. Covering all the pots with hardwood and kept a good fire going for 2-2 1/2 hours. After the firing was done, we placed sod and soil onto of the fire to cause the reduction. We let it cool down for 24 hours and then uncovered the pots. (next time Im going to let it cool down for 48 hours)
Warming Fire
The Actual Fire
Sod Time
Uncovering of the Pots
There were a couple of pots that crumbled into pieces and there were a lot of fine cracks. I think most of the cracks were caused by uncovering the pots too soon. Next time will be better.


